Using Text Boxes and Paragraph Text in Excel
When you need to enter more than a word or two of text into Excel you may find that the text does not display as you want it to. There are several ways to get around this problem.
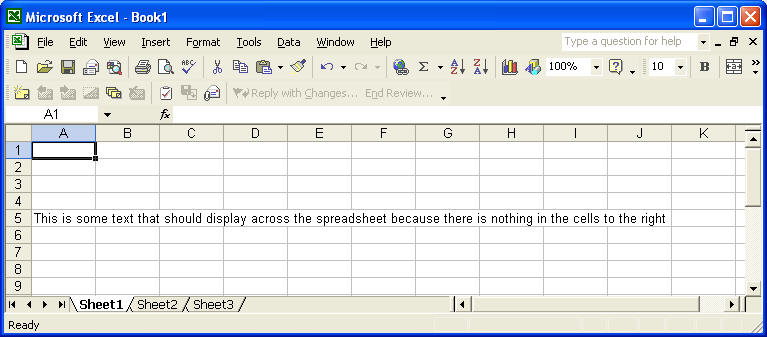
In this example a line of text displays across multiple cells because there is nothing in the cells to the right. As soon as you enter something into cell B5, for example, the text is cut at cell A5
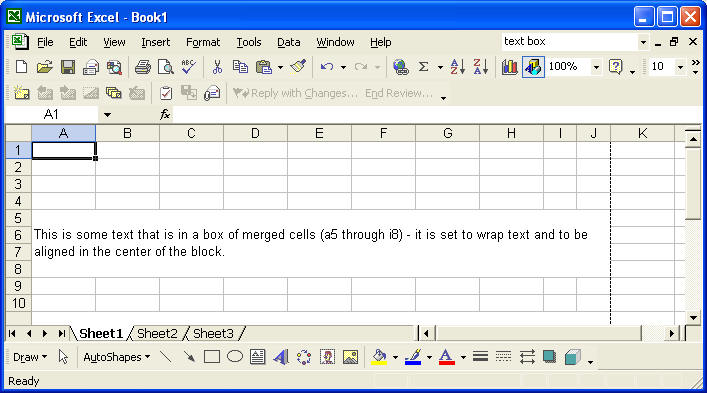
You can protect against entering data in the cells to the right of a text entry by merging all of the cells used to display the text into one cell. To do this just highlight all of the cells used by the text, right click on the highlighted cells, select Format, select Alignment and check the Merge cells box.

In the same Format Cells / Alignment text box you can also check Wrap text. This should be used if you have either enlarged the vertical size of a row (not a good idea in most cases as it enlarges the entire row, not just the part you may be working with) or merged a number of rows and columns into a block. Shrink to fit is a good idea, too, as it guarantees that your text will be displayed even if you resize some columns. It is also wise to change Vertical alignment to either Top or Center - for some reason it defaults to Bottom.
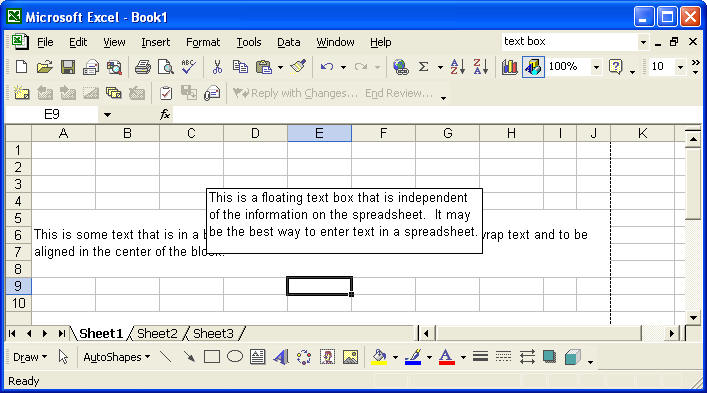
If you want to insert an independent, floating text box follow these steps:
Click on the draw drawing icon on the toolbar or click View / Toolbars / Drawing. This will display the drawing toolbar at the bottom of the spreadsheet.
Click on the Text Box icon on the drawing toolbar (it looks like a small newspaper with the letter A on it)
Use the mouse to draw a box on the screen.
Type whatever text you need into the box - click off of the box to exit.
To edit the text just double click on it - you can resize or move the box as you would any graphic item.